Bingo! I knew I had peppers in the fridge.
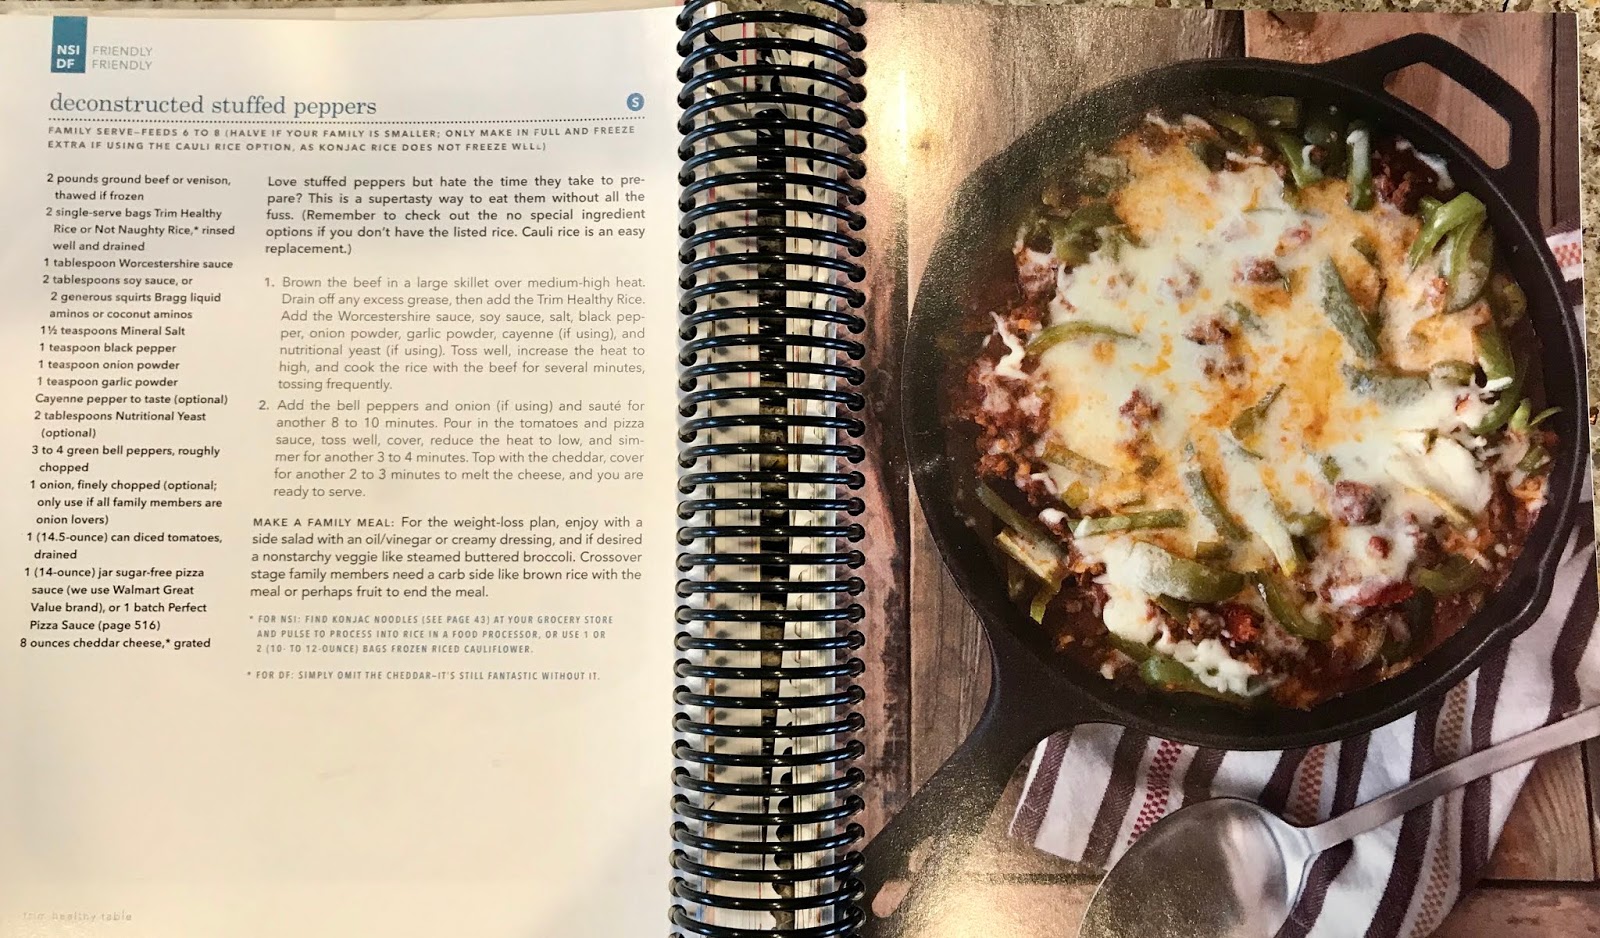 |
| This looks yummy. |
The problem was that I had no ground beef (or anything else) thawed. Well, I never found a recipe I couldn't change. I went to the freezer and pulled out a little zip bag of cooked dark chicken meat (courtesy of Costco's rotisserie). I plopped the bag into a bowl of hot water, and a few minutes later I was able to work with it.
Meanwhile, I chopped and then sautéed peppers and onions in bacon fat. When that was nice and brown, I put those into a square baking dish. To the sauté pan, I added the chicken, which was thawed enough to pull apart and chop.
I then added in some frozen riced cauliflower, salt, pepper, chipotle powder, and a can of diced green chilies to the chicken. When this mixture was hot and bubbly, I squeezed the juice of a fresh lime over all. Then I combined the chicken mixture with the onions and peppers in baking dish and and topped it with shredded cheddar.
I popped the dish into a 350 degree oven and baked it for about 20 minutes. The resulting dish was really nothing like the cookbook recipe, but all I had needed was a photo to get me going.
 |
| Behold: Cheesy Chicken and Peppers |
 |
| Nonfat Greek yogurt instead of sour cream adds protein without all the extra fat |
Since my oven was hot, I decided to do a little advance prepping. While the chicken dish was baking, I chopped a Costco-sized package of bacon (3 pounds total) into bite-sized pieces and put them into a rectangle roasting pan. (I had to thaw the packages in hot water for a few minutes before chopping it up).
 |
| Ready for the oven |
When lunch came out of the oven, I reduced the oven temp to 325 degrees and in went the pan of bacon. The trick with the bacon is to stir occasionally, and more frequently as it reaches doneness. It can easily burn toward the end. Set a timer if you need reminders.

When the bacon came out of the oven, I let it cool for a few minutes before draining the fat through a strainer into a pourable container.
 |
| This 8-cup Norpro Krona multi pot is one of my top favorite kitchen utensils. |
This is where it gets fun. I poured the bacon fat into my silicone mini muffin pan and then put the pan in the freezer.
 |
| Silicone pans: another kitchen utensil favorite! |
Out came solid little discs of bacon fat, which went into a zip bag and back into the freezer. Whenever I want to cook something with bacon fat, I just have to grab a ready-to-go disc. And if one disc is too much for what I need, they are easily cut in half.
The cooked bacon bits also took up residence in a bag in the freezer, ready to grab whenever I need them.
While the bacon was chilling, I wanted to make one of my Trim Healthy Table cookbook favorites: Cinnamon Butter Bundt Cake, page 380. But a quick perusal of the recipe reminded me that I was out of almond milk.
No problem. Almond milk is so easy to make at home if you have a good blender. It only lasts a few days though, so I don't make a large quantity at a time. However, you can make extra and freeze it if you want to.
Throw a handful of almonds into a small bowl (maybe a half cup) and cover with water and let sit about an hour. If you want a product that is more digestible, add a small spoonful of salt to the water and let sit for seven hours to neutralize the phytates in the nuts.

When your soaking time is up, strain off the water and discard. (Here is the good news. If you are in a hurry, you don't have to soak the nuts at all).
Throw the nuts into the blender along with about 2 cups fresh water to cover them, and add a shake or two of salt.
Let 'er rip.

Strain. I like to use a piece of flour sack towel over a strainer, which is over a bowl or pan. You can pick up the cloth by the four corners and squeeze the last bit of almond milk out. Store the milk in the fridge.

 |
| See? Milking almonds isn't much different than milking a cow. |
What to do with that leftover almond meal? For awhile, I saved it, dehydrated it, and made it into almond flour in the blender. But it just got to be too much, so for now now I compost it. But I'd love suggestions if you have one!
Now that I have almond milk on hand, it's time to whip up a cake. But this post is so long already, it will have to wait until the next post.


Love the little discs of bacon fat. I do this with lemon juice when they are falling off the trees here and chicken broth for when I only need a few TBS. Most ice cube trays are about 2 TBS.
ReplyDelete